Hello Fellow Artists!
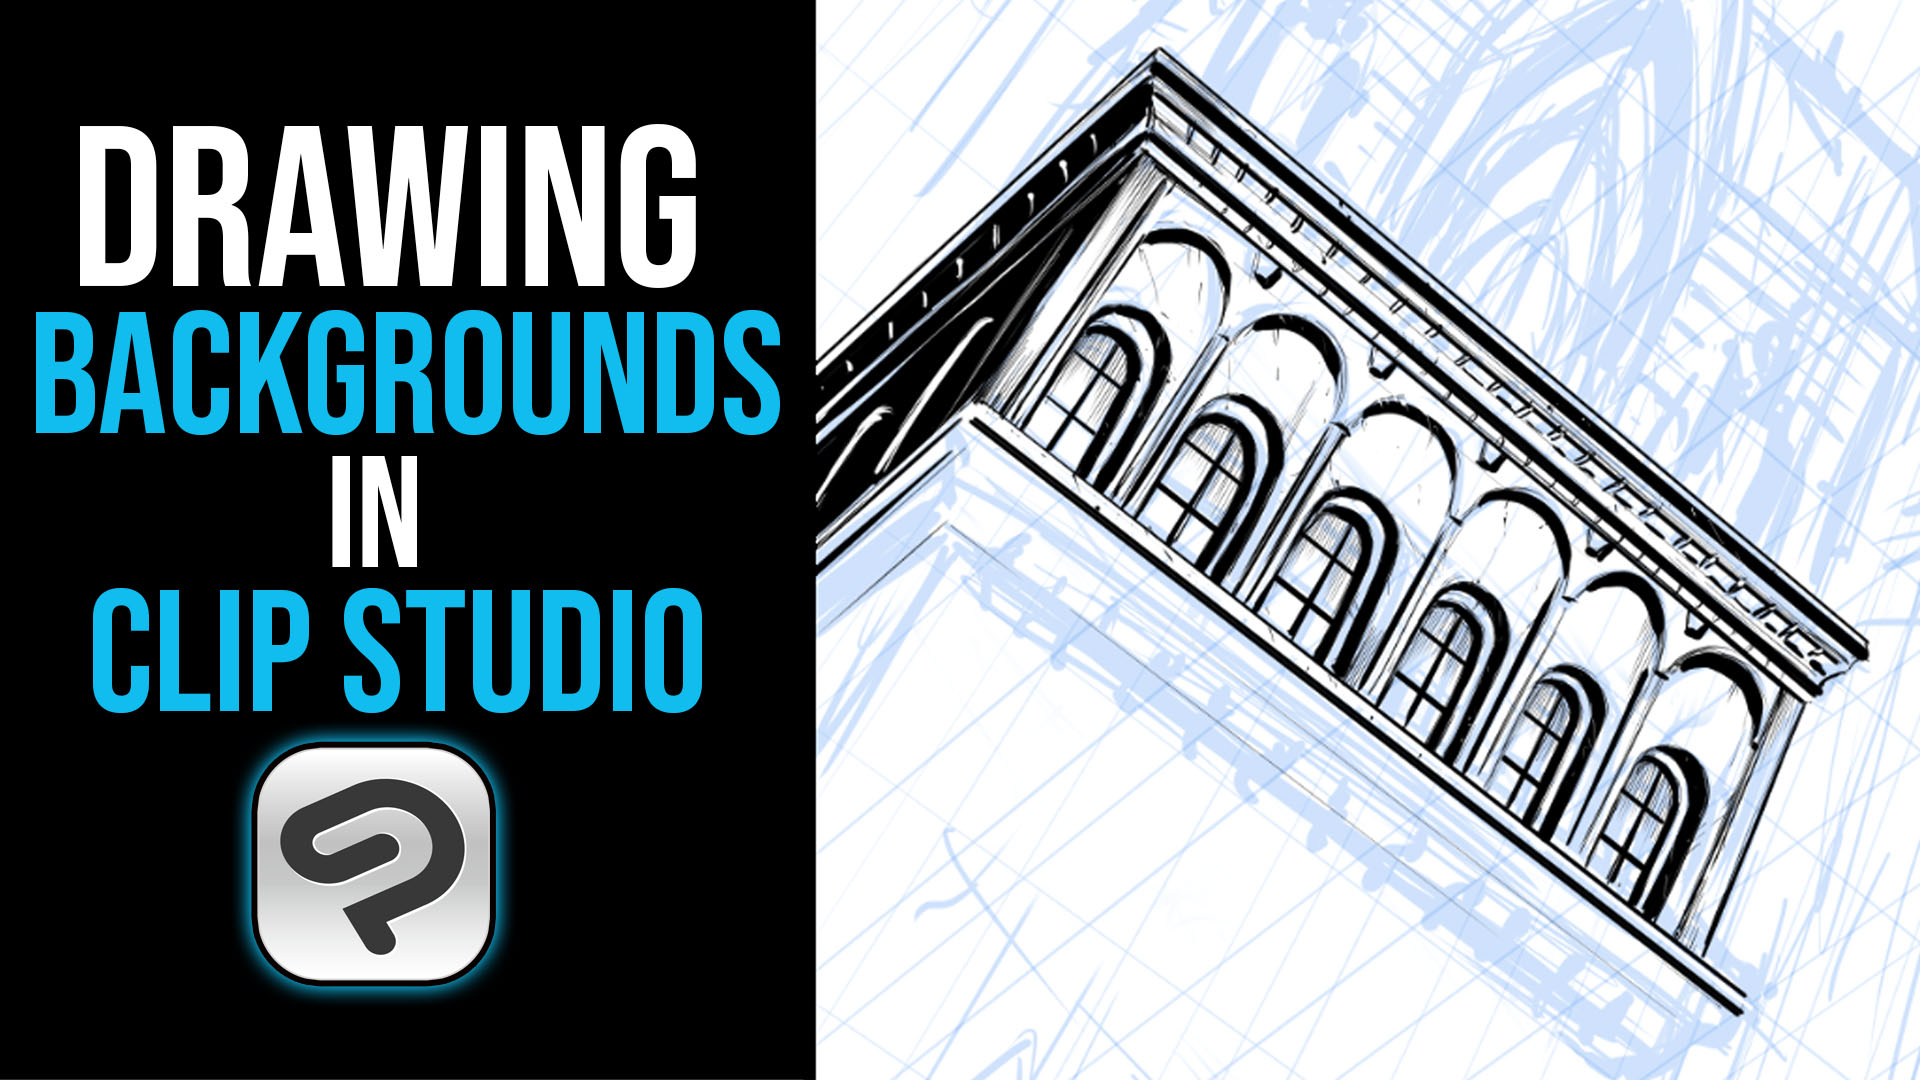
I just wanted to share another video with you that I created. In this one I show my process for starting with a very loose sketch and cleaning up the work with minimal use of the perspective guides.
Don’t get me wrong, I still use the perspective tools here and there as well as the straight line tool but by drawing as much freehand as possible we tend to get a more interesting and organic look.
I picked this concept up from the amazing talented David Finch. He does his version with pencil and paper but then I started to emulate it with digital methods. Clip Studio is my weapon of choice today but I also like to use Procreate as well.
Here is a breakdown of the drawing process –
1. Draw a rough sketch. It’s good to have a concept first but some people like to drawn the perspective guides first. Try both ways to see what fits for you.
2. Drawn a perspective grid through the design on a new layer using the perspective ruler. I personally like to add more lines where I need them and less where I don’t. Another cool technique you can try here is making the lines different colors for each direction. This is insanely easy in Clip Studio since you have layers to work with.
3. Now you can start inking and cleaning up the work. I like to tighten up the work as I go rather than redraw it all again. This takes practice but it can be a bit faster and help us to avoid over thinking all the details. I’m a chronic over thinker. Plus, since we are working digitally there are lots of ways to correct things as we go.
4. Try drawing just a couple of thin lines in perspective but then draw over them and through them as you render your scene. Too many straight lines can make everything look too clean. This is a style choice but for this example I want a building that looks older and more weathered.
I also feel like this approach lends to creative thinking since you are making decisions on the go and using the rough sketch as a blueprint. Rough concepts are where the ideas and energy come from. We tend to lose some of that as we over refine the work.
5. Just continue to clean things up but also keep adding imperfections along the way. It really helps to tie it all together. I like to use black and white and flip between them by hitting “X” on the keyboard. It’s like having unlimited whiteout as I ink. You can always change the layer mode to “Multiply” later to color beneath it all.
You can watch the video here and see it all in real time with me blabbing on about my process of course! 😉
I hope you find this content to be informative and if you have any questions please comment on the video or reach out to me through my contact form here on the website.
I am always looking for new video ideas so let me know what you want to learn next with perspective drawing or comic art!
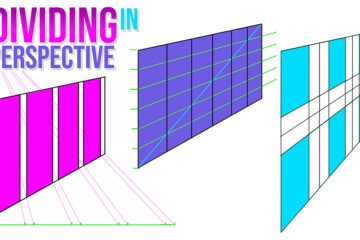
Want to learn more about perspective drawing?
Here is another blog post for you on How to Divide, Mirror, and Map Distance.
Have a great day and keep drawing!!
-Robert
Ram Studios Comics
For more video tutorials you can visit my Youtube channel here – https://www.youtube.com/c/robertmarzullo
0 Comments