Welcome Back My Fellow Artists!
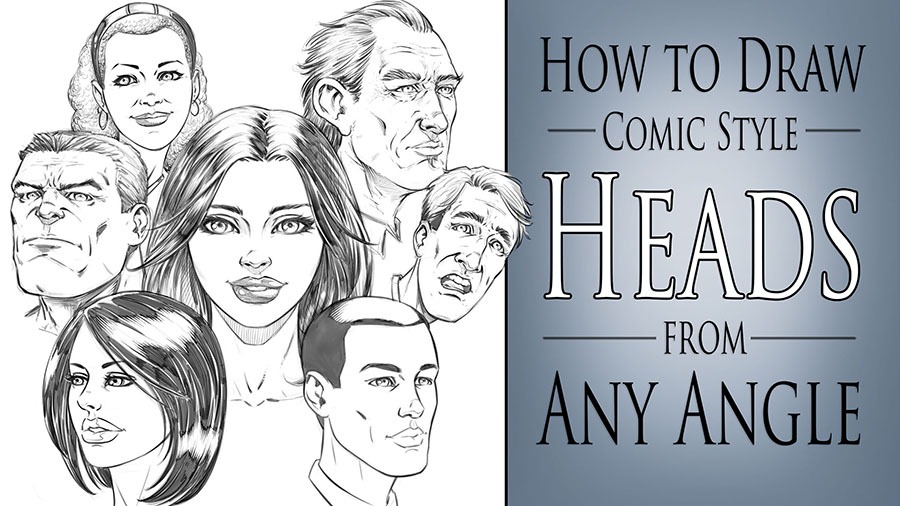
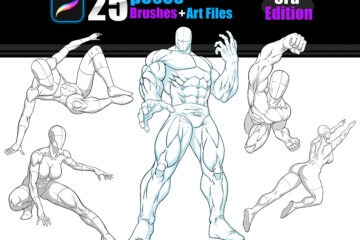
In today’s post I want to let you know about the latest update to our ever growing course, “How to Draw Heads at Any Angle!” ( Currently at 18.5 hours long. )
These new lessons are on drawing expressions. For great storytelling we have to practice these as often as possible to help breathe life into our characters.
The great thing to consider about this area of our work is that simple is better. Much like a lot of things we tend to lose some of the expressiveness by over detailing and refining.
Let me show you what I mean with these simple exercises that I demonstrate in the course –
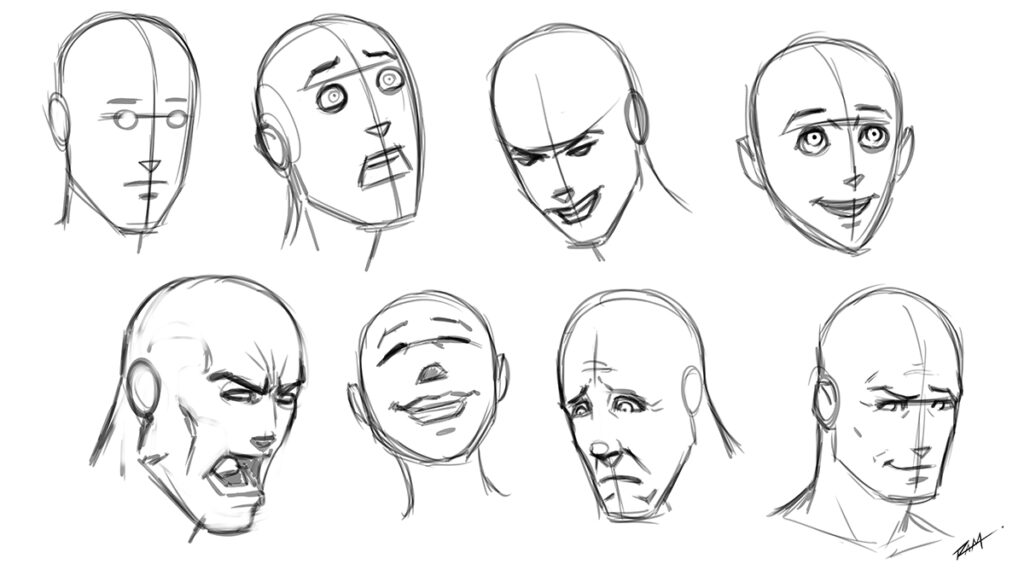
Step 1 – K.I.S.S.
Something my old boss used to say to me all the time and it really stuck. K.I.S.S. Keep it simple sucker! Yeah, I changed the last word for all the sensitive types out there.
I have to admit, it actually used to tick me off but he was always kind enough to remind me that it is just a way to make sure you remember it when it counts.
I think of expressions and gestures of the body in this same way. We tend to overcomplicate the beginning and lose the energy and expressiveness because we add details and get lost in them.
Cartooning teaches us this all the time. Just watch some of your favorite animated series and see how simple some of the concepts can be yet how expressive they really are.
We can learn a lot from cartoons! Yo Joe! ( Inside joke for all the 80’s kids out there! )
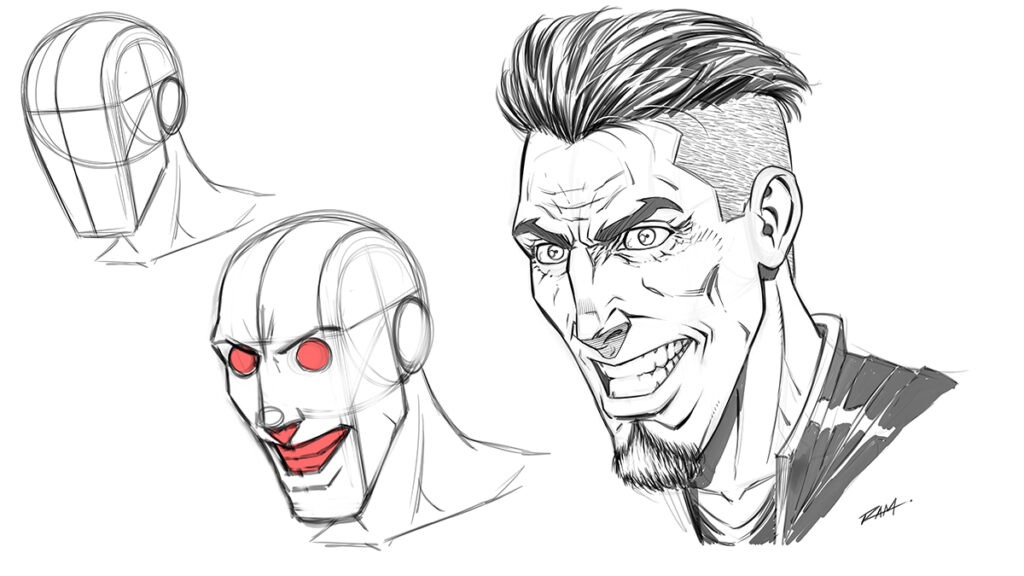
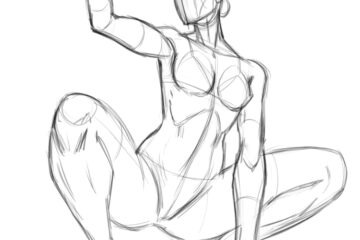
Step 2 – Using Basic Shapes for the Expressions
This is from the part of the course where I show you how to draw an expressive character with an evil grin. You know, the Jokers of the world.
Notice in the image below that after we draw a simplified Andrew Loomis style head, we move right into some simple shapes for the expression.
Give it a try! I’ll wait for you….

By using simple shapes at this stage you can really start to draw the expressions of the characters much faster. Simple shapes allow us to see patterns and draw with consistency.
I like to remind myself that every thing can be broken down into primitive shapes and then 3D forms.
Step 3 – Drawing the Expressive Character
Now with all that heavy lifting done we can just have fun and draw whatever character comes to mind. That is the beauty of doing the preliminary stages of the work.
We can now draw the details with a lot less effort and not worry so much about symmetry or any alignment of the features.
Of course, we will only get better at the initial stages of the work and over time, need less and less of the base shapes.
Don’t rush it though. Let that part happen organically as you create thousands of drawings. Oh yes, I do mean thousands! 😉
I hope today’s post on drawing expression has been helpful and if you want to learn more, here is another tutorial on expressions – https://ramstudioscomics.com/index.php/2021/11/18/how-to-draw-facial-expressions-tutorial/
If you want to talk my full course on Drawing Heads from Any Angle you can view it here – CLICK HERE!
I would love to see your art and you can always tag me in the post or even share it with me through my contact form. Never stop drawing and have an awesome day wherever you are!!
Robert A. Marzullo
Ram Studios Comics
Instagram – https://www.instagram.com/robert_marzullo
0 Comments