Welcome back Fellow Artists!
In today’s post we will practice drawing the head and neck area for our character concepts. Nothing worse than a bunch of stiff necks in the scene, right?
Many beginner artists tend to draw their characters with a straight neck and also avoid drawing the head from an unfamiliar position. By practicing variety of a particular area of study we can break free from this monotony.
Let me walk you through this and see if I can help you break some of those bad habits. Let’s get drawing!
Drawing the Back of the Head and Neck – Straight View
In this first example we can start with something basic to warm up with. There is nothing wrong with starting simply, we just don’t want to always end up here.
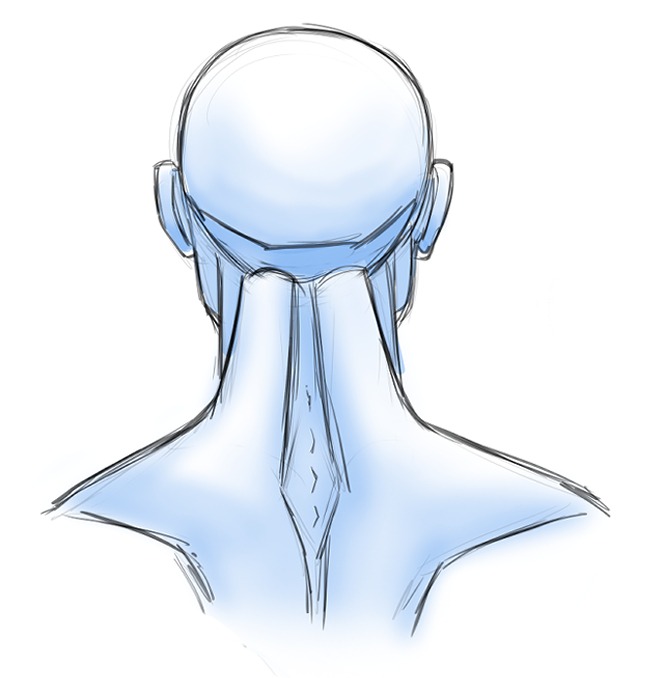
Here we can go over some of the forms to pay attention to that will help us to draw the more complex versions later. Notice how the trapezius connects to the base of the skull. From this view it is by far the most dominant muscle to study.
Tip # The Trapezius is ofter compared to the shape of a kite or as I mention in the video above, a stingray.
Also, it is helpful to look for the diamond like divide between the traps. It also helps us to be aware of where the upper and middle traps divide just over the spine of scapula.
Drawing the Back Angle View of the Head and Neck
For this next one, it will still be a basic pose but the angle in which we are viewing it can tend to throw us off a bit.
We usually draw things better from a front view since that is what we spend the most time observing. Not to worry though, with a bit of practice these forms start to make sense.
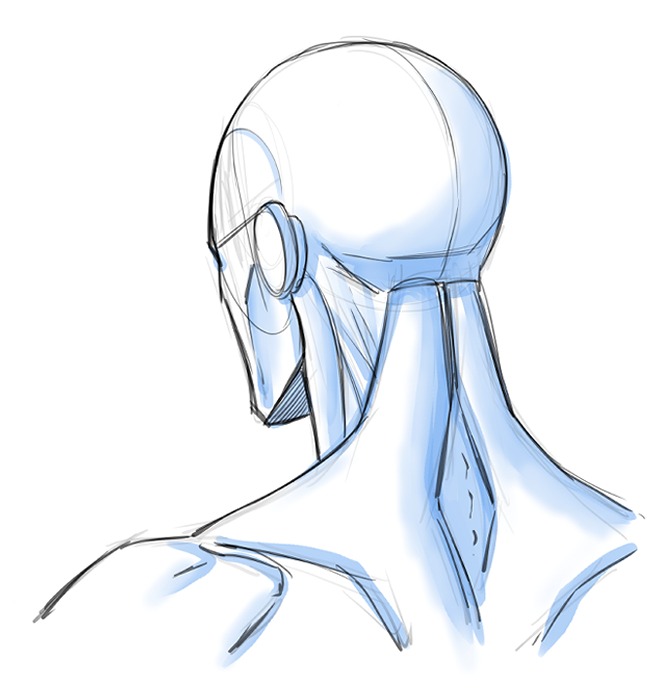
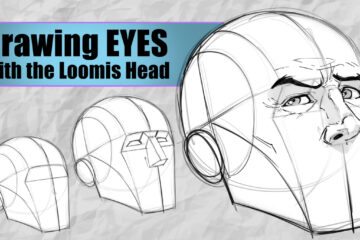
If you struggle to get this one right, just remember that we can use the Andrew Loomis method to find the placement of the ear. Then add the sternocleidomastoid just under the base of the ear.
You can reference the first example that we worked on for the trapezius since the only real difference here is the angle of the view.
This is a good pose to master since it is very heavily used in comics for character interactions, which also means we have plenty of references when we need them!
Drawing a Curved Neck from a Back View
For this next pose we will try to add a bit more of a noticeable curve to the neck. This adds more gesture and expression to the pose.
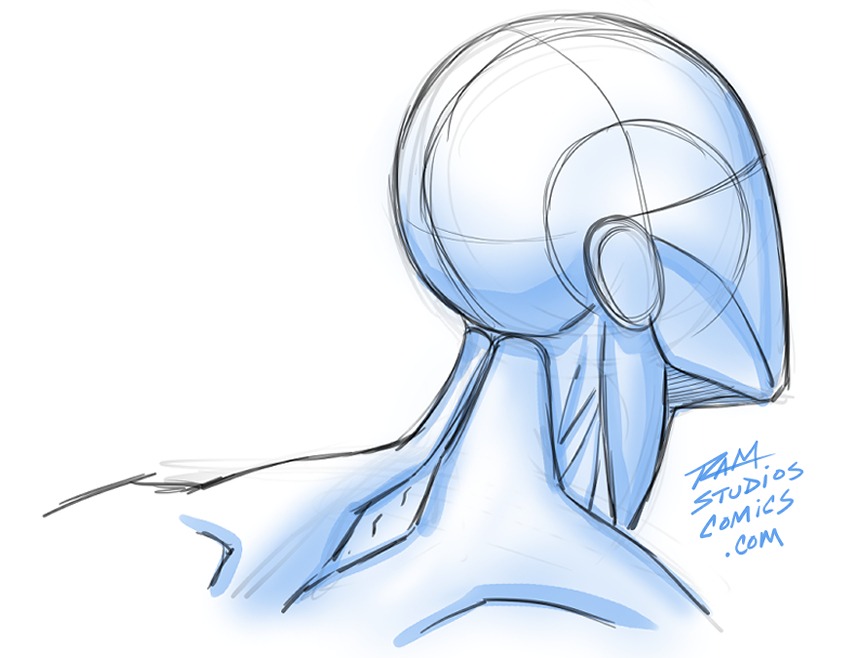
As I mentioned in the video, I tend to think of characters that match the pose that I am trying to draw. For this one I was envisioning Spider-Man.
I believe this helps us to draw more dynamic and interesting poses. Since we can imagine our favorite characters and how they might move or act in a scene, it becomes a bit of a creative inspiration.
Upward and Downward View of the Head and Neck
For these next two examples I felt the need to employ some fundamental techniques that help me from time to time.
For the view of the head looking upward I started the drawing much smaller. Pretty much the thumbnail approach that I love to use when things get tough.
For some reason I can generally work through my drawings much better if I start small. I think it is because I can view everything with a better sense of proportion and/or by drawing small it requires less mental bandwidth.
Whatever the reason truly is, it works. When drawing a head tilted upward I can often misjudge the size of the triangular shape under the chin.
For the downward angled view I used another technique, the Andrew Loomis method. Really all of these are based upon his methods but when the head is harder for me to position, I tend to use more of a rigid approach of Loomis’s method.
It helps me to keep the proportions of the face in check as I tilt the head to a more dramatic or less familiar angle than I am used to drawing.

Back View of the Head and Neck – Twisting and Turning
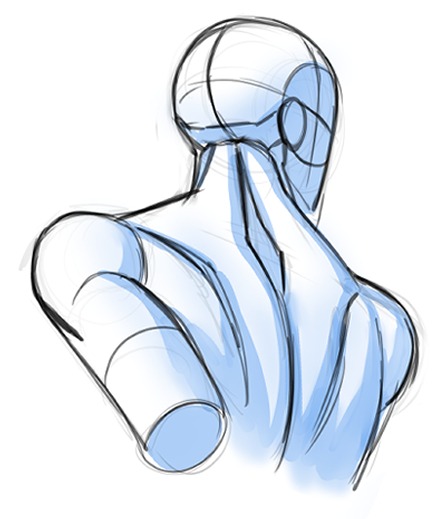
For this final example we can work into something a bit more organic. By adjusting the shoulders and twisting the head away from the body our character starts to feel more alive.
This is why I like doing these types of iterations when I draw. I doubt I would have gotten to this drawing without working through the other poses.
It’s almost like we have to push though a bunch of typical drawings before our imagination can point us to something different.
There is something cool about exploring your own ideas and seeing what you can come up with!
Things to Consider When Drawing the Head and Neck
- The neck is more curved than straight up and down
- Tilting the head differently than the shoulders adds gesture to the pose
- The trapezius is a kite like shape and very dominate from the back view
- The diamond like shape in between the traps is a very important landmark to learn
- The Andrew Loomis method is great for not only drawing the head but also positioning the neck
I hope this helps you to draw the head and neck a bit more confidently and let me know if you have any questions. I am here to help and you can always send me your drawings through my contact form and I will do my best to respond!
For more free Art Tutorials head over to my page here –
If you are ready to learn more and want personal guidance, you can check out my art courses here where I have both free and paid options to help you –
https://www.online-courses.ramstudioscomics.com
Thank you for reading my post and good luck on your art journey!
-Robert
Ram Studios Comics
0 Comments